Windows 11にてWindows Backupのバックアップ先を外付けハードディスクに変更する方法のメモ。
ハードディスクを接続して以下の手順を実行。
- Control Panel
- System and Security
- File History
- 左のメニューよりSelect driveでハードディスクを選択。
もしくはWindowsスタートメニューの検索欄よりFile Historyを検索して、Select driveでハードディスクを選択。
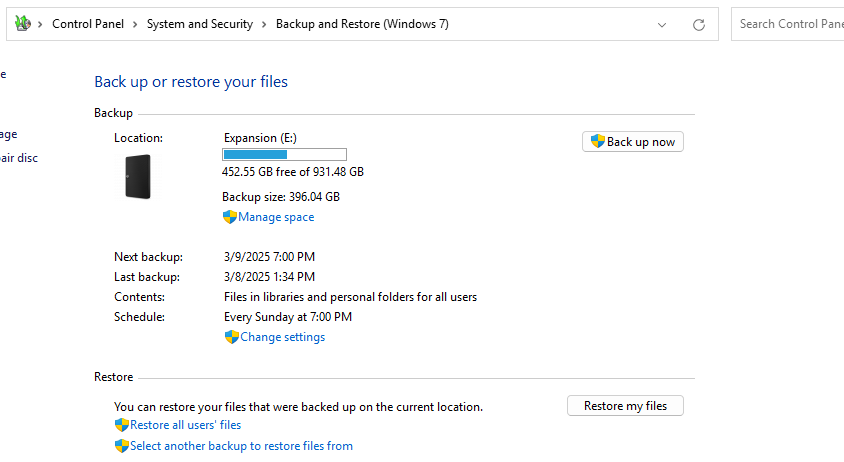
バックアップを開始するには
- Control Panel
- System and Security
- Backup and Restore (Windows 7)
- Back up now ボタンをクリック
参考